Prerequisites
- You have a Github account
- You have a Digital Ocean account
- You have a Linux Server (or VM) that you can use to run your local instance of Hugo
Setting up Github
Creating your Repo
- Navigate to https://github.com and login
- Select New
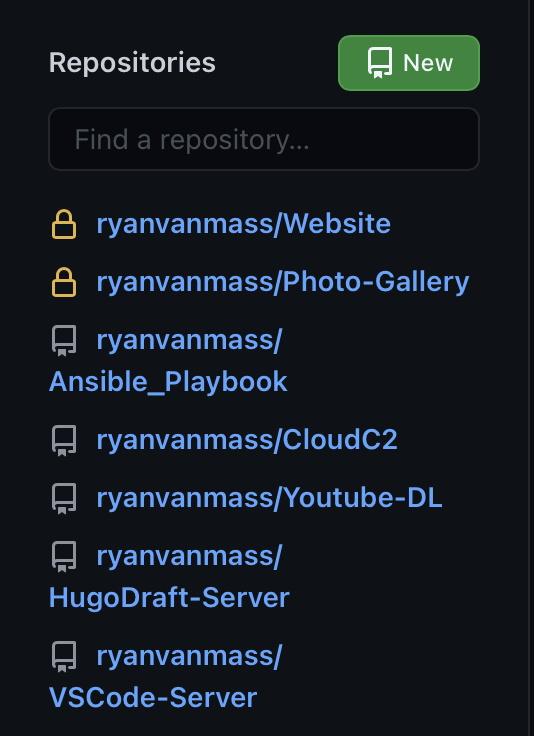
- Name the Repo, Set it to Private, and select Create Repository

Making your First Commit
- On your Linux Machine create a directory to store the website in
1
	mkdir Websites
- Create your new Repo within this directory
1
2
	cd Websites
	git init
- Create a Readme File and commit the change
1
2
3
	touch readme.md
	git add -a
	git commit -a -m "Commit Message"
- Set the Branch to commit the changes to
1
	git branch -M main
- Set where these changes should be sent to
1
	git remote add origin git@github.com:$GITHUB_USERNAME/$REPOSITORY_NAME.git
- Push your changes to the remote repository
1
	git push -u origin main
Creating Hugo Site Locally
Installing Hugo
Ubuntu
1
	sudo apt install hugo
RHEL/CentOS/Fedora
1
	sudo dnf install hugo
Creating your Website
- Within the Directory we created run the bellow command to create the File structure that Hugo requires to function
1
	hugo new site .
Adding a theme
Note: This will very depending on the theme you select. I am using the mainroad theme for writing this walk though since that is what I use
-
Go to https://themes.gohugo.io/ to find a theme you like
-
go to that themes github page and locate the install instructions (often found in the ReadMe)
-
Follow the install instructions
-
Often the theme will have a preconfigured config file that acts as a good starting point. You can set Hugo to use this config file by runnng the following command
1
2
3
4
5
	#Backs up current config file
	cp config.toml config.backup
	rm config.toml
	#Copy the Example config to where your config.toml was
	cp theme/$Theme_Name/exampleSite/config.toml .
- Edit the example config file to your liking
Adding Posts to Hugo
- Run the bellow command to create the new post
Note: Make sure the command ends in .md otherwise the command will run but will not create the file correctly
1
	hugo new post/Whatever_You_Want/Whatever_You_Want.md
- Edit this newly created markdown file in your editor of choice
Setting up Digital Ocean
Setting up your Web app
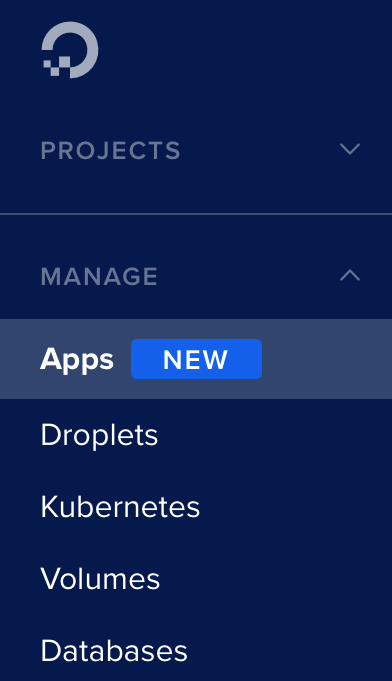
-
Log into DigitalOcean
-
Select Apps
- Select Create App
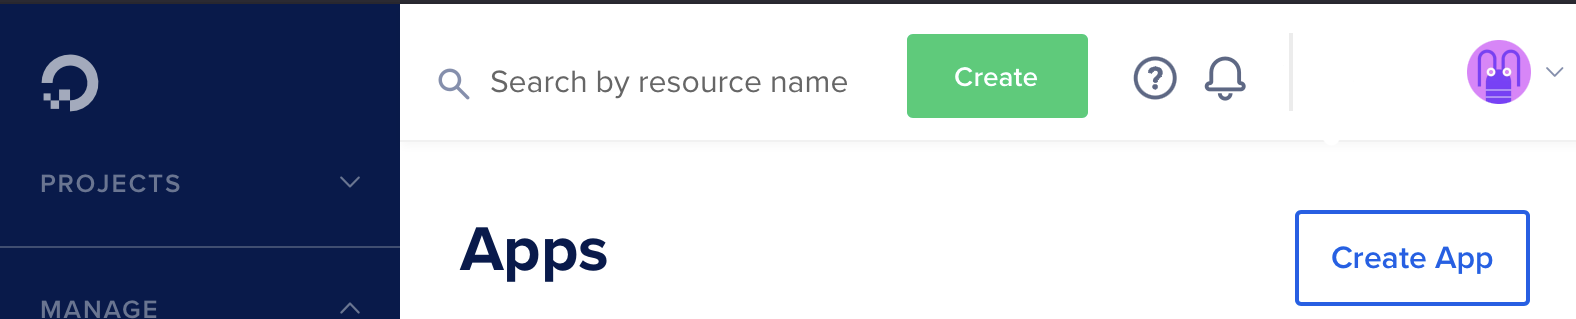
- Follow the onscreen prompts
Adding a custom URL
Note: This will very depending on your Domain provider
-
Login in to Digital Ocean
-
Select Apps
-
Select the App for your website
-
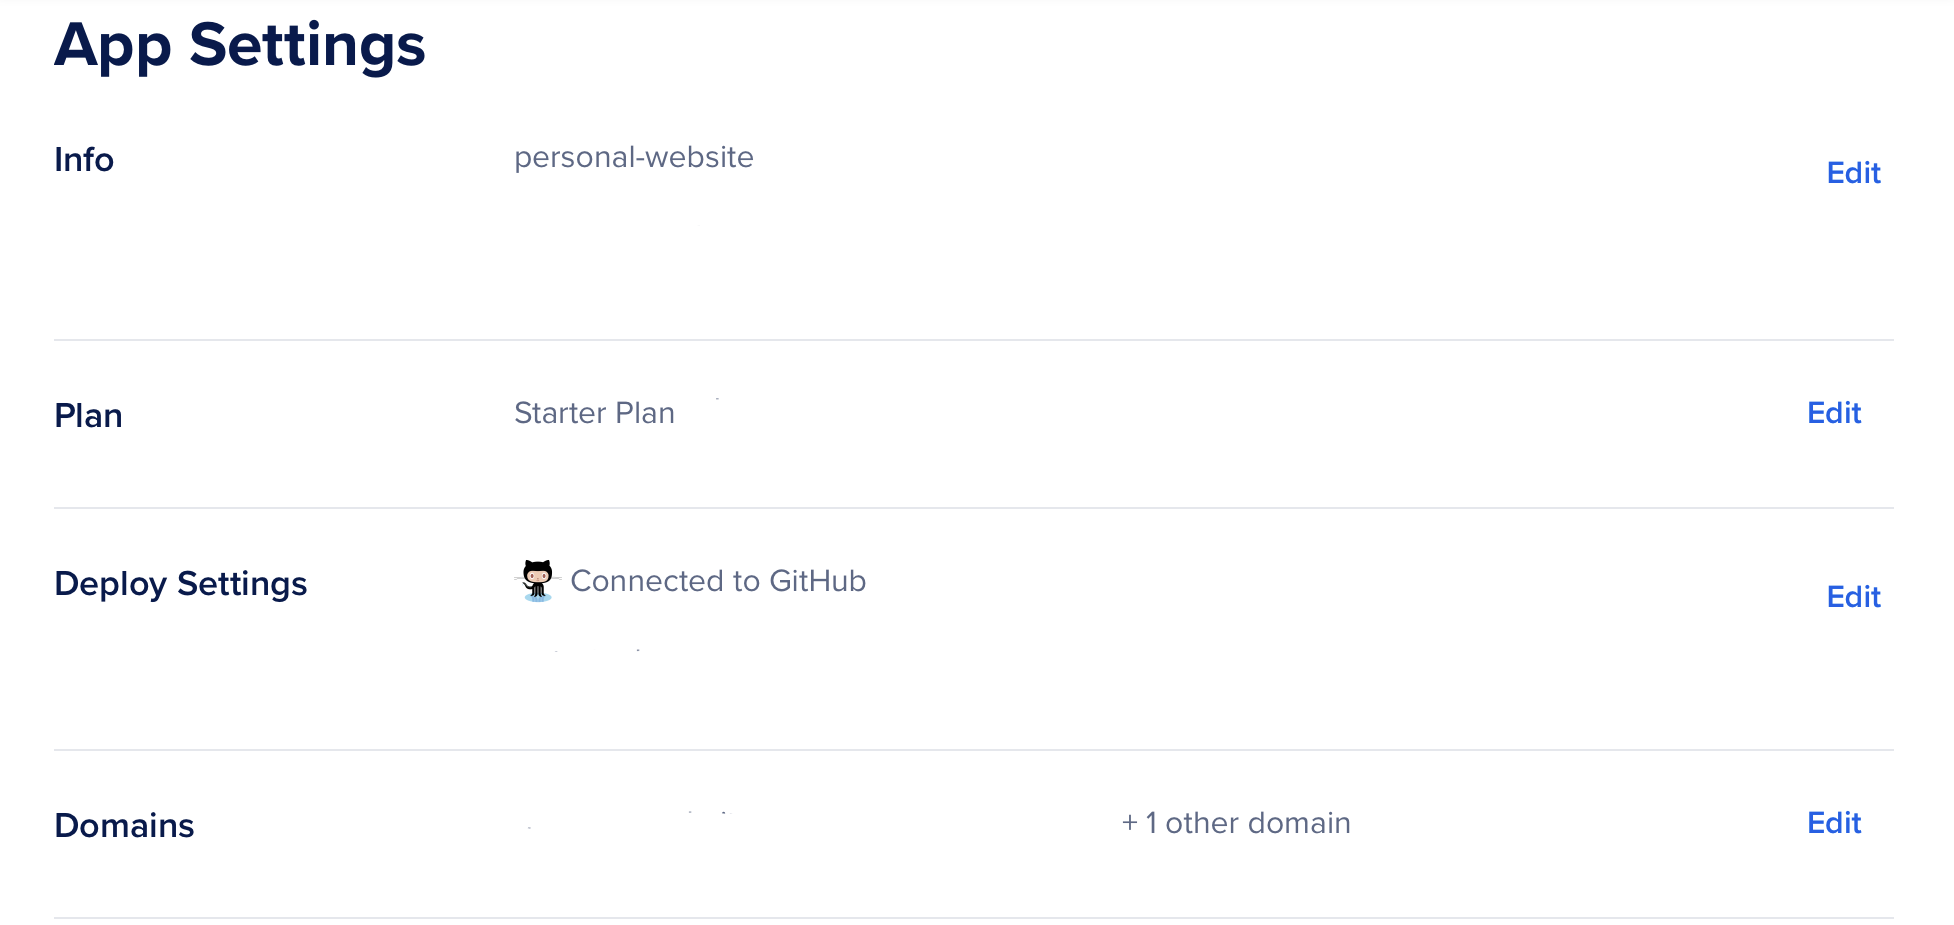
Select Settings
-
Select Apps
-
Select Settings
- Select Edit for Domains
- Select Add Domain
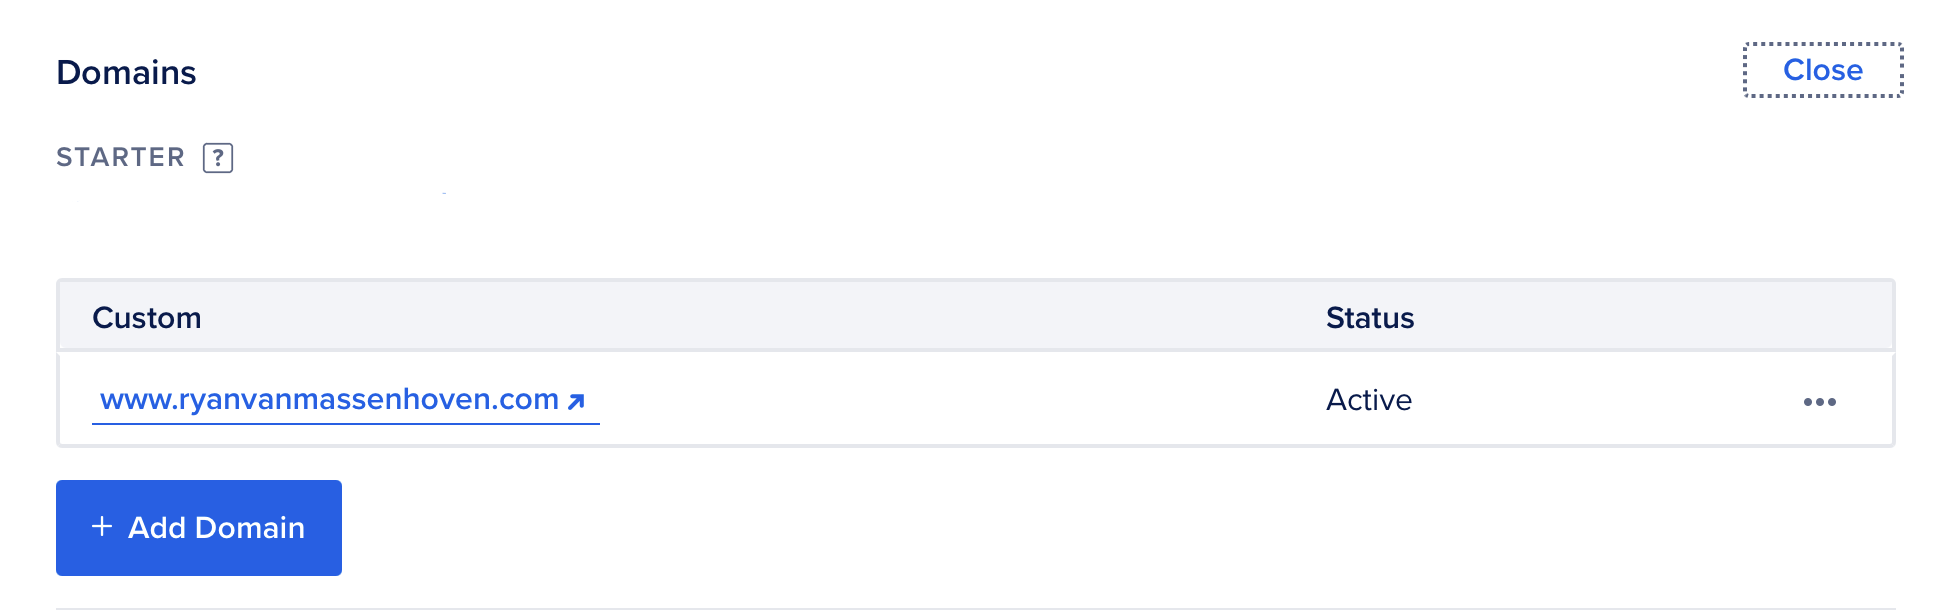
- Follow the Onscreen directions
Pushing your Updates to Production
If you are following along you should now have a web app set up in DigitalOcean and a empty git repo that the web app is connected to on Github. Bellow is the steps to push any changes you want to make to this web app
Run the following commands in your local Git repo:
1
2
3
	git add -a
	git commit -a -m "Commit Message"
	git push