Introduction
Samba allows you to share files and folders over a network using the smb (Server Message Block) Protocol
Server Installation
Debian based OS: sudo apt-get install samba
Server Configuration
- Open the configuration file
sudo nano /etc/samba/smb.conf - Add the following at the bottom of config file for each share:
Syntax
1
2
3
4
5
[Share Name]
    comment = Description of Share
    path = Path to folder
    read only = make the network share read only
    browseable = make the network share browseable or not
Example
1
2
3
4
5
[Home]
    comment = Home Directory
    path = /home/ryanvanmass
    read only = no
    browseable = yes
- Exit the file saving the changes
- Restart the smbd service
sudo systemctl smbd restart - Add Samba User
sudo smbpasswd -a "User"
Client Configuration
Linux
NOTE: This will depend on what File Manager you are using but bellow is a guideline
- in your File Manager locate and select add entry. It should look something like the bellow image
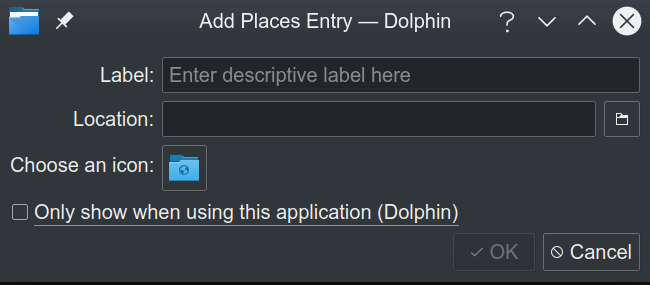
-
Add something reasonable for the Label (eg the name of the share)
-
For location enter the following:
smb://ip of server/share name
Windows
-
Open File Explorer
-
Navigate to This PC
-
Right Click and Select Add a network location
-
Follow onscreen promps untill you reach this screen
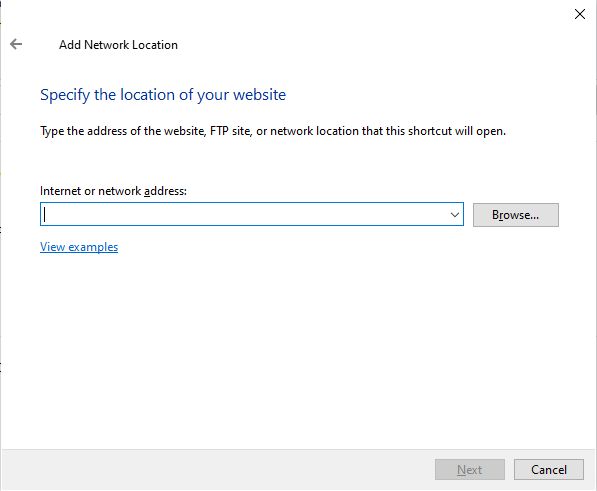
- Enter the following:
\\server ip\share name -
Enter User credentials created during Samba Configuration
-
Enter a name for the share
- Select Finished